Adding a boulder deck to your outdoor space can create a beautiful and natural look, perfect for relaxing or entertaining. With the right tools and materials, you can easily create a stunning boulder deck yourself. This step-by-step guide will walk you through the process of installing your very own boulder deck.
A boulder deck install involves incorporating large rocks or boulders into the design of a deck or outdoor living space. These boulders can be used as seating areas, focal points, or natural accents, adding a unique and natural element to the overall aesthetic of the space. The incorporation of boulders can create a sense of harmony with the surrounding landscape, especially in areas where natural rock formations are prevalent.
Materials Needed
Before you begin the installation process, make sure you have all the necessary materials on hand. Here is a list of what you will need:
Materials:
- Boulders
- Gravel
- Landscape fabric
- Sand
- Deck boards
- Drill
- Screws
- Shovel
- Rake
- Tape measure
- Level
Step 1: Plan and Design
Before you start installing your boulder deck, take some time to plan and design the layout. Consider the size and shape of your outdoor space, as well as any existing landscaping features. Use spray paint or stakes and string to outline the area where the boulder deck will be located.
Step 2: Prepare the Area
Once you have your design in place, it's time to prepare the area for installation. Follow these steps:
Preparation:
- Clear the area of any debris or vegetation.
- Excavate the area to create a level base for the boulders.
- Spread a layer of gravel to help with drainage.
- Place landscape fabric over the gravel to prevent weeds from growing through.
Step 3: Place the Boulders
Now it's time to start placing the boulders for your deck. Follow these steps to position the boulders:
Placement:
- Start by placing the largest boulders first, using a shovel and some muscle to position them.
- Continue adding smaller boulders around the larger ones, creating a natural and visually appealing layout.
- Arrange the boulders in a way that creates a stable and level surface for the deck.
Step 4: Create the Deck Surface
Once all the boulders are in place, it's time to create the deck surface. Follow these steps to finish your boulder deck:
Surface Creation:
- Spread a layer of sand over the boulders to create a flat and even surface.
- Place the deck boards on top of the sand, starting from one end and working your way to the other.
- Secure the deck boards to the boulders using a drill and screws.
- Make sure the deck boards are level and secure before finishing the installation.
Step 5: Finishing Touches
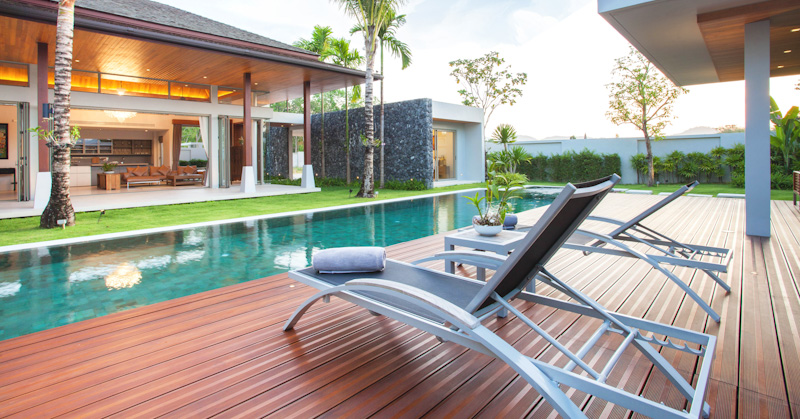
With the boulder deck in place, it's time to add some finishing touches to complete the look. Consider adding some outdoor furniture, potted plants, or string lights to enhance the ambiance of your new outdoor space.
Finishing Tips:
- Consider adding a pergola or umbrella for shade and style.
- Add cushions and pillows to your outdoor furniture for comfort and coziness.
- Install outdoor lighting to create a warm and inviting atmosphere in the evening.
By following this step-by-step guide, you can create a stunning boulder deck that will be the envy of all your friends and neighbors. Enjoy your new outdoor space and the natural beauty of your DIY boulder deck!